|
|---|
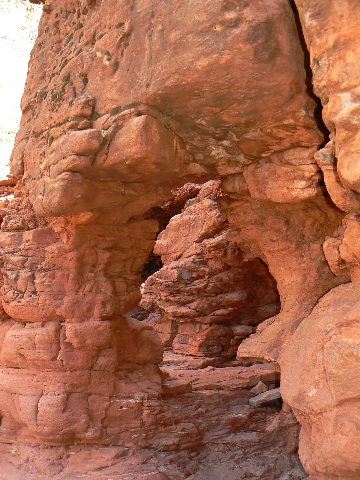
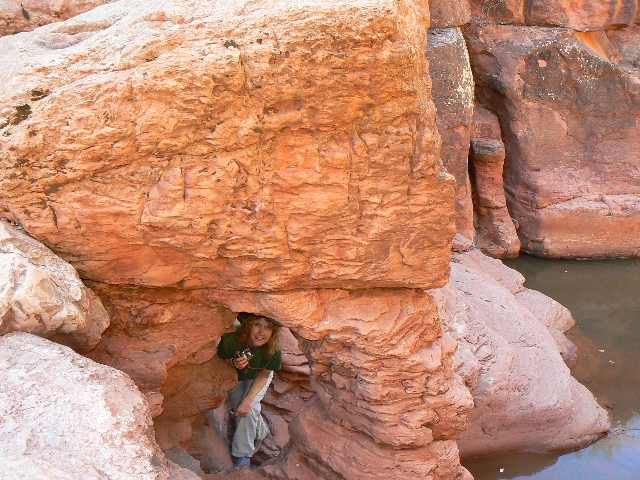
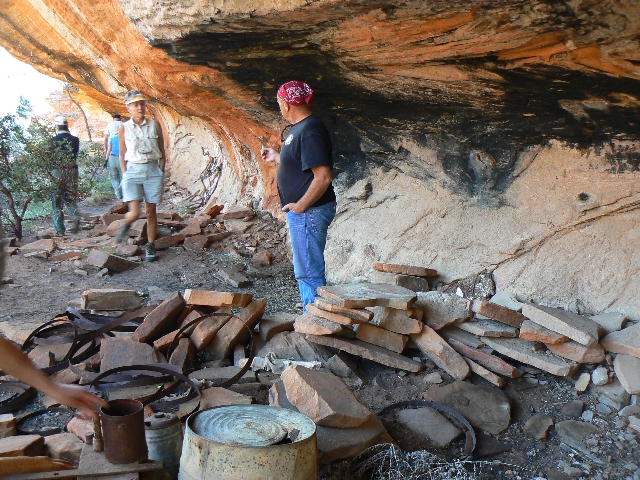
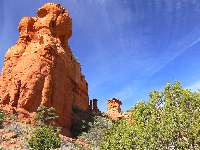
Bear Ledges Arch 1
(Click the image for a full-size view)
|
|---|
|
|---|
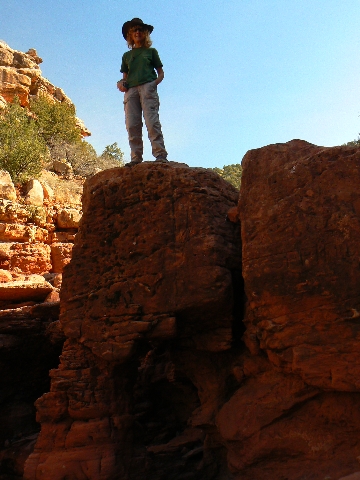
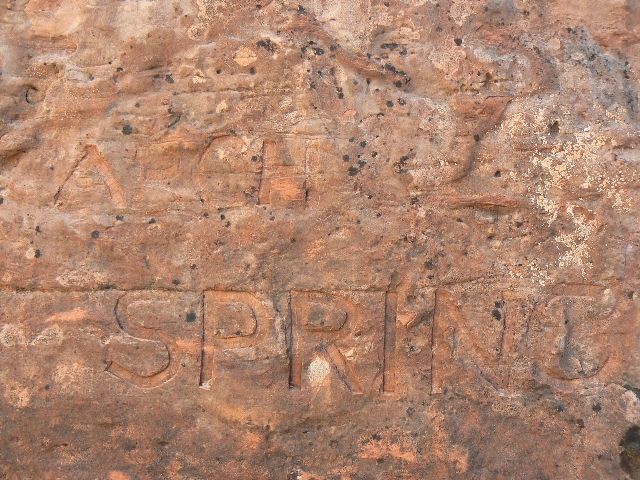
Bear Ledges Arch 2
(Click the image for a full-size view)
|
|---|
|

|
|---|
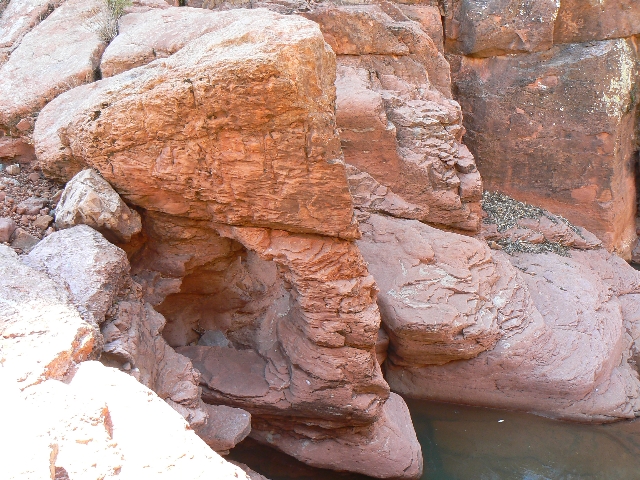
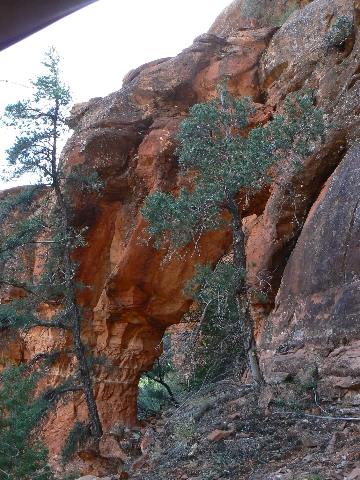
Bear Ledges Arch 3
(Click the image for a full-size view)
|
|---|
|
|
|---|
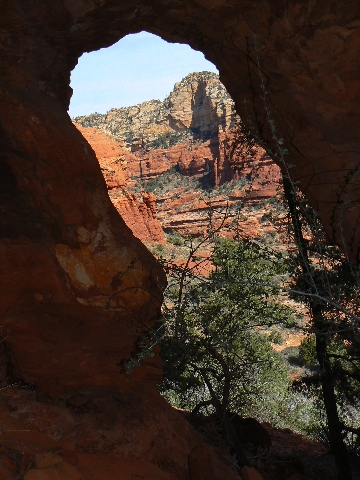
Bear Ledges Arch 4
(Click the image for a full-size view)
|
|---|
|
|
|---|
Bear Ledges Moonshine Ledge
(Click the image for a full-size view)
|
|---|
|
|
|---|
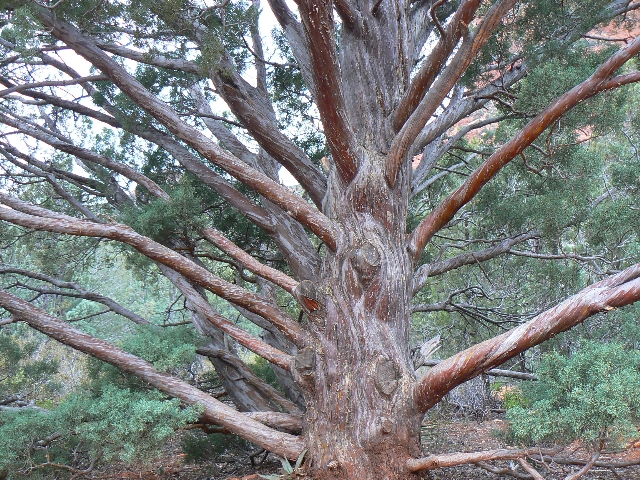
Bear Ledges Spire
(Click the image for a full-size view)
|
|---|
|
A quote will appear before each brief report:
"Success is going from failure to failure
without a loss of enthusiasm."
Winston Churchill
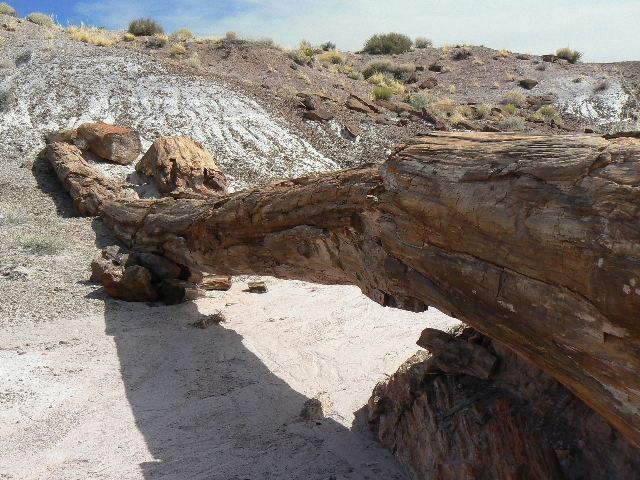
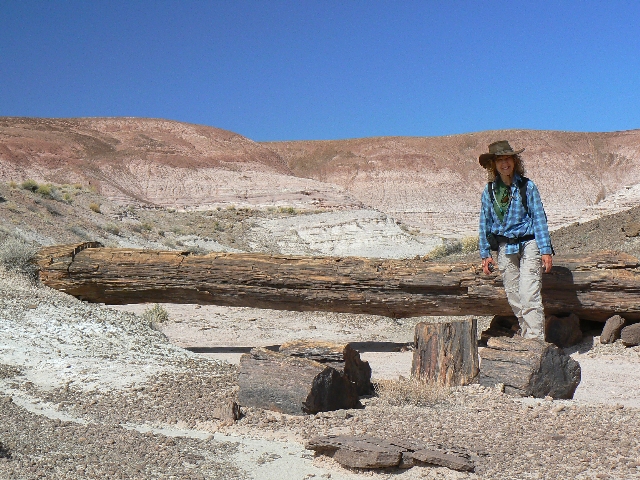
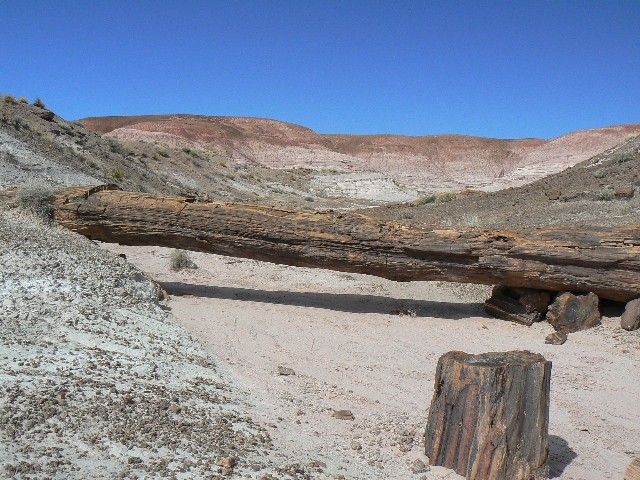
 Trip 3: Onyx Natural Bridge in
Petrified Forest NP, early March (6 miles, 7 ERM, Energy Required Miles).
Trip 3: Onyx Natural Bridge in
Petrified Forest NP, early March (6 miles, 7 ERM, Energy Required Miles).
Taking counsel from the words of Churchill (above), Kathleen
and I are back out in the chilly wind, again hunting for Onyx Natural Bridge in the Black Forest
section of Petrified Forest NP.
Click here to go to our 2008 wanderings in the Black Forest attempting
to find Onyx Natural Bridge. It was then that we discovered that the directions and GPS
coordinates we had were bushco (wrong in most every way). Would today be different, more
full of hope? You can see the difference between where the USGS map depicts Onyx NB and where
it is marked (my waypoint) on the below map.
Yes! Using superior directions, refined coordinates, and a
concise sketch supplied by Bill Parker of the NPS, we cruised right to the natural bridge.
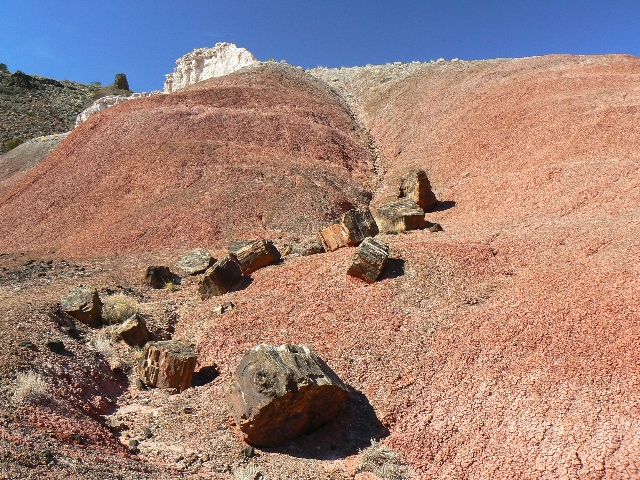
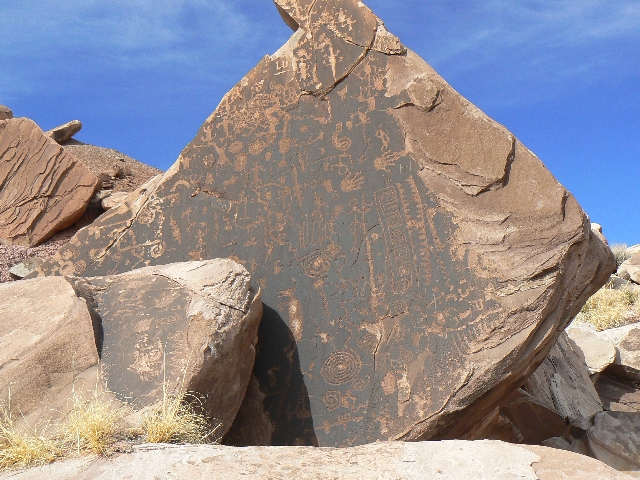
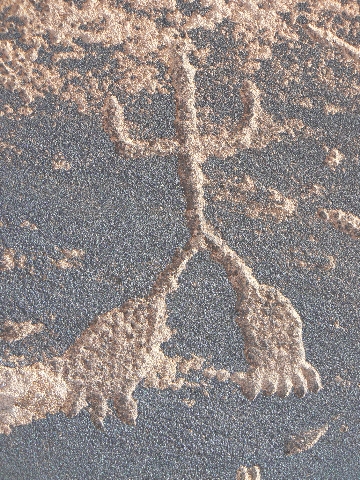
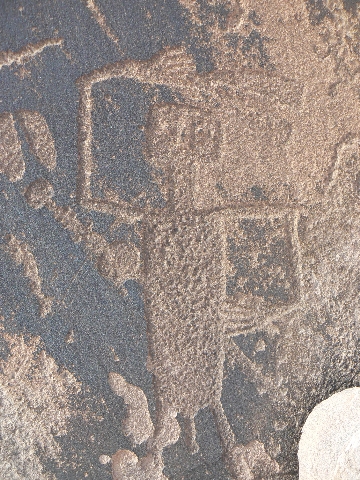
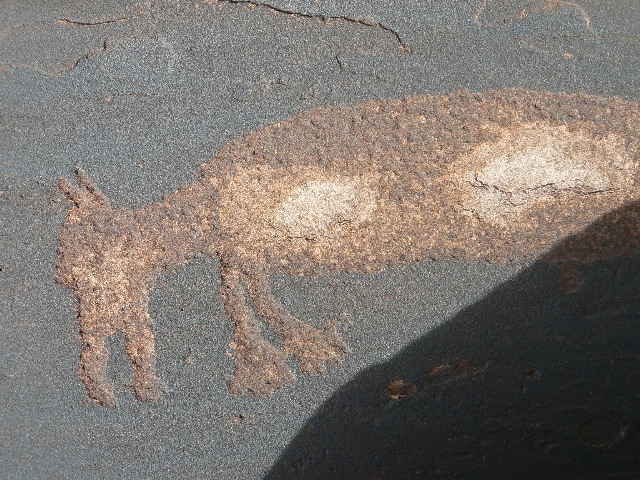
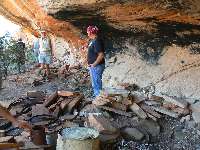
The wind was approaching cold, so on our return we paused for lunch in the lee of petroglyph
boulders of yore. Fine rock art!
Click here for the NPS sketch of the route to Onyx Natural Bridge. It is
a "TIF" file - so open it with Microsoft Office Picture Manager, or another such
application.
Click here for the NPS web site for Petried Forest NP.
Directions to Onyx NB: Drive I-40 to exit 311 to access
the North section of the park. For reference, Flagstaff is at exit 195 on I-40.
Car park at the Painted Desert Inn in the North section of the NP.
The Black Forest route (not a trail) starts on the West side of the Inn (now a visitor center).
Before starting off the rim, look North and observe the
wide drainage of Lithodendrom Wash. The wash makes a sweeping S-turn, the lower end of
which is about 2 miles from your vantage point. In the middle of this S-turn, spot a
purplish clay hill with a sprinkling of white rocks forming its top. It is in the left
sweep of the S, where the wash turns N. Walk down the switchbacks from the Inn and out
toward Lithodendrom Wash. Head for that low butte you spotted from the top.
Set your GPS and, at the top left of the S-turn of the
wash (where it turns East), hike NW up the widest of the low drainages, then right at the
next turn. You will soon come to a 10' overhang above you. (Note that Onyx is incorrectly
marked on the map and most if not all GPS mapping software.) The NB is just above the
pour-off at these (correct) coordinates:
GPS Coordinates for Onyx NB
are: UTM 12 S 610071E; 3885850N; WGS84.
See the map below. Note that Chinde NB is also shown
on this map, directly N of Chinde Point.
 Click here to go to our
GPS route toward the Black Forest and Onyx Natural Bridge. It
will appear as a Google map on a USGS topo background.
Click here to go to our
GPS route toward the Black Forest and Onyx Natural Bridge. It
will appear as a Google map on a USGS topo background.
Wait for the topo maps to form under the route.
You can change the scale (left side of map)
and relocate the center of the map (use the "hand") as you wish. Use the drop-down
box in the upper right to select other maps (e.g., aerial). Enjoy.
Tune in again as 2009 reports are added.....

WV Specialty Pages
Specialty pages on the Wilderness Vagabond site include:
Scenic Toilets of Inner Earth
Signs of the Times
Pleasant Panoply of Panoramas
Hot Springs Excursions in Idaho, Utah, & California
Pictographs and Petroglyphs
Flowers, Trees, and Shrubberies
WV Year-End Summaries
2008 Summary: Celebrating the end of an error, terminating the audacity of dope
2007: A
Somnambulistic Solstice Salutation
2006: Long Ranger
2005: Salmon Sojourn!
LINKS
And - Click here to see The Archman's site on
Utah and area arches.
Click here to see Ben's Scenic USA - Picture of the Day.
Click here to see Steve's excellent photos -
birds in flight, panoramas, etc.
Click here to see the NOAA forecast for the high country.