|
|---|
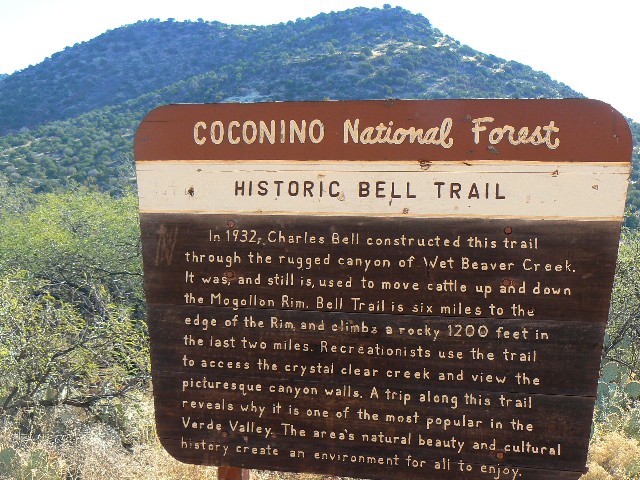
Wet Beaver TH
(Click the image for a full-size view)
|
|---|
|
|---|
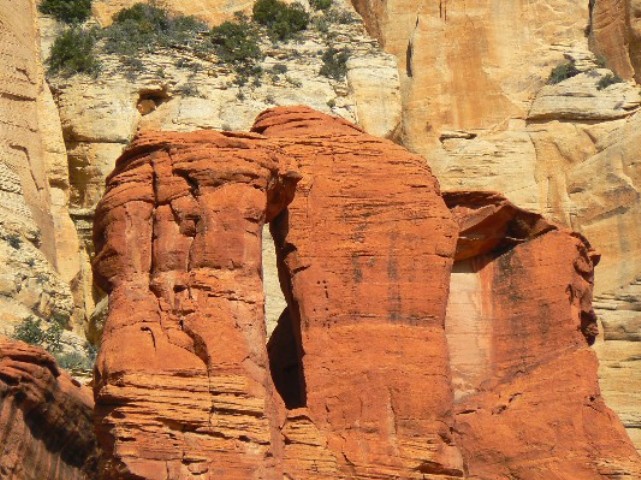
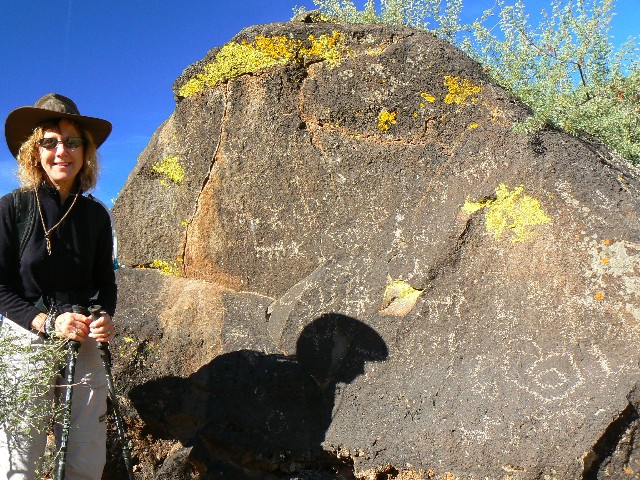
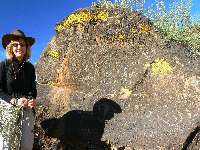
petro rock
(Click the image for a full-size view)
|
|---|
|
|
|---|
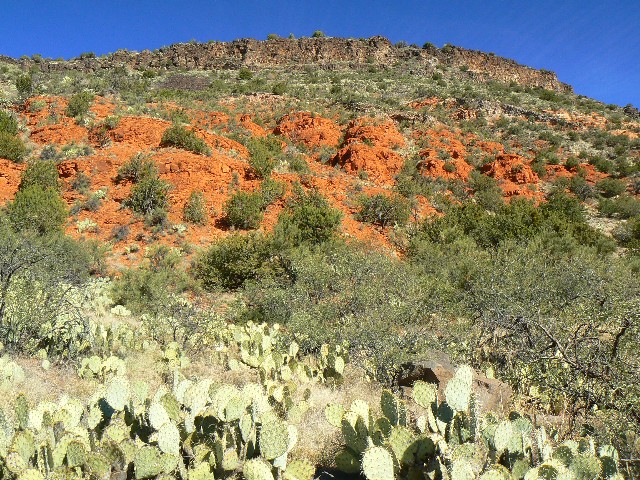
basalt over pillows
(Click the image for a full-size view)
|
|---|
|
|
|---|
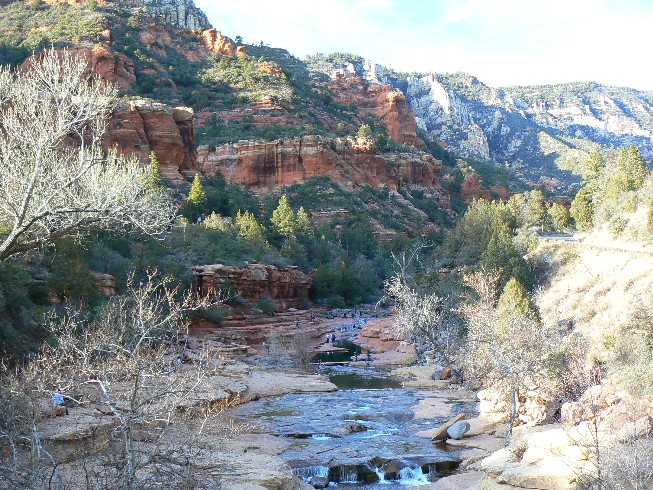
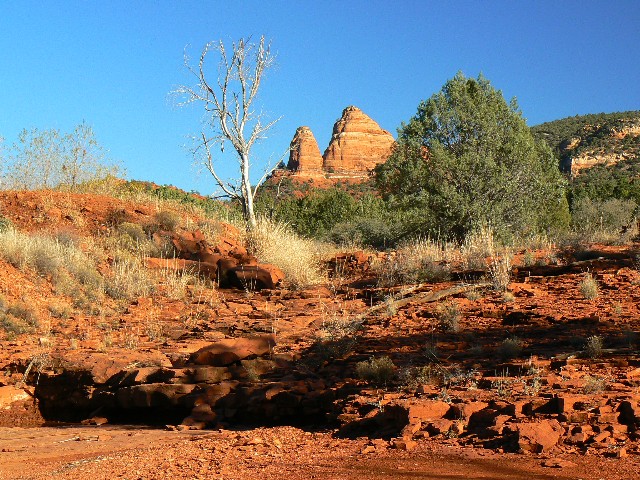
Bell's Crossing
(Click the image for a full-size view)
|
|---|
|
|
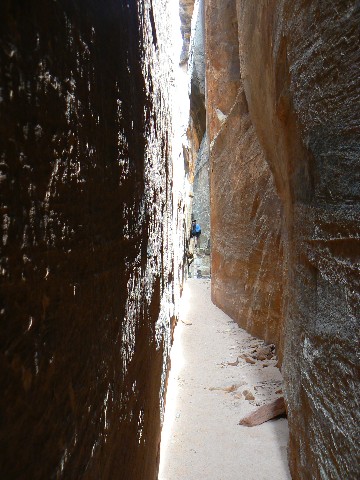
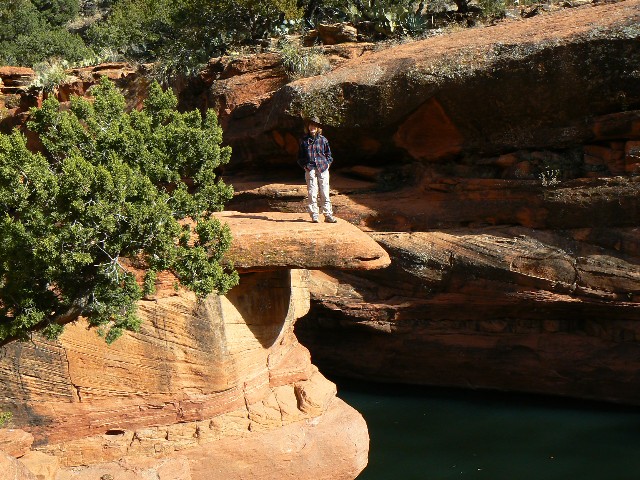
|---|
Dainty diving - The Crack
(Click the image for a full-size view)
|
|---|
|

|
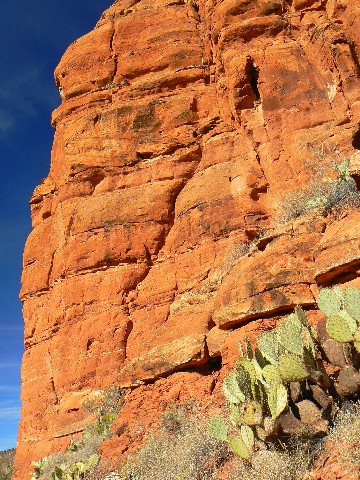
|---|
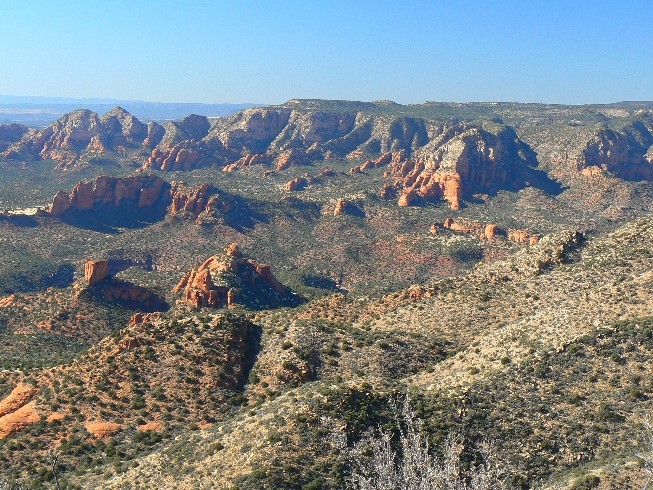
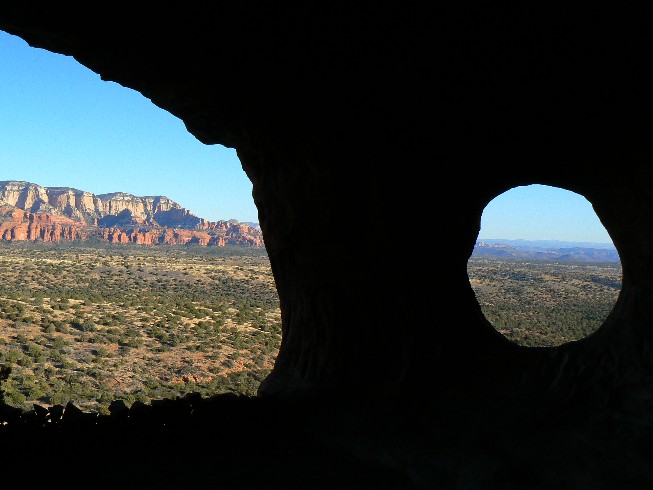
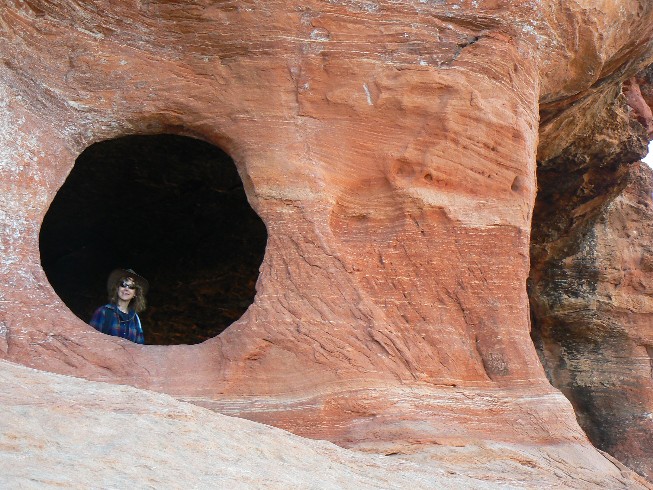
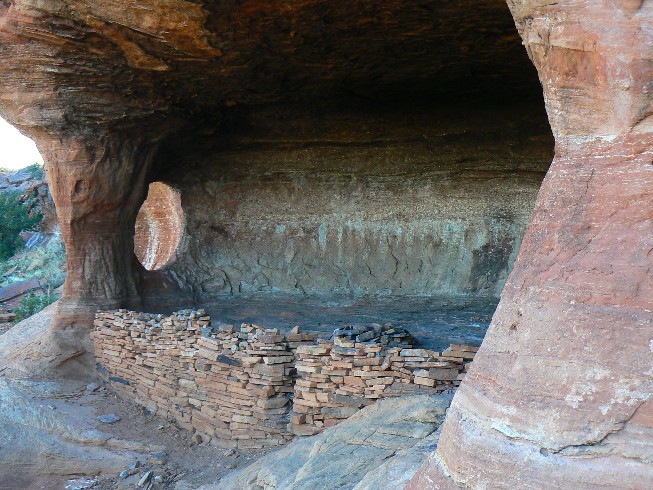
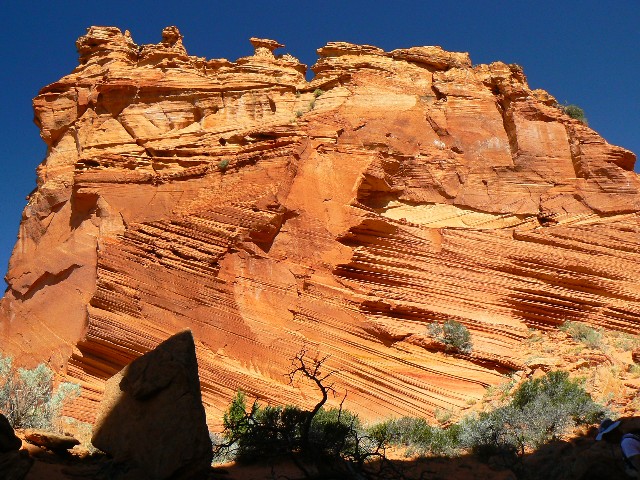
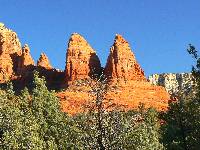
Cliff area
(Click the image for a full-size view)
|
|---|
|
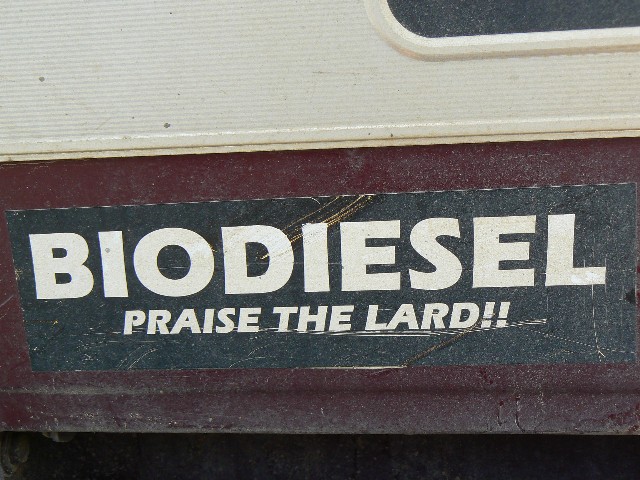
And, another buscho t-shirt:
Iraq is Arabic for Vietnam.
 Trip 19: Wet Beaver Wilderness - to Casner Butte, mid-December (9.5 miles, 15 ERM, Energy Required Miles).
 Click here to go to our GPS
route made while hiking the Wet Beaver Wilderness to Casner Butte. The route will appear
on a Google map with a USGS topo background.
Use the "+" sign (left of page) to change the map scale.
Click here to go to our GPS
route made while hiking the Wet Beaver Wilderness to Casner Butte. The route will appear
on a Google map with a USGS topo background.
Use the "+" sign (left of page) to change the map scale.
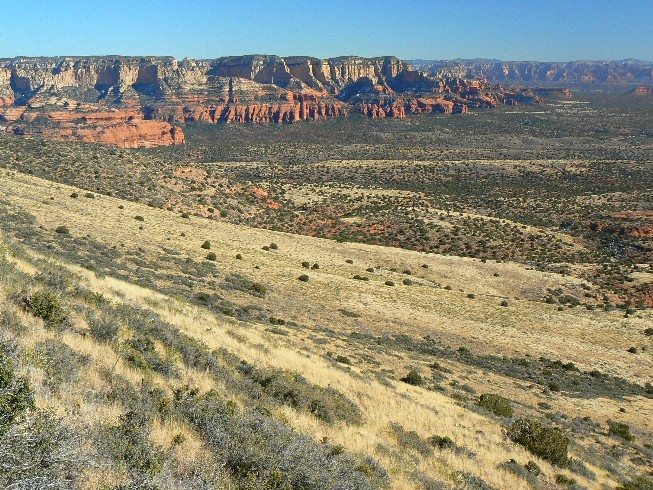
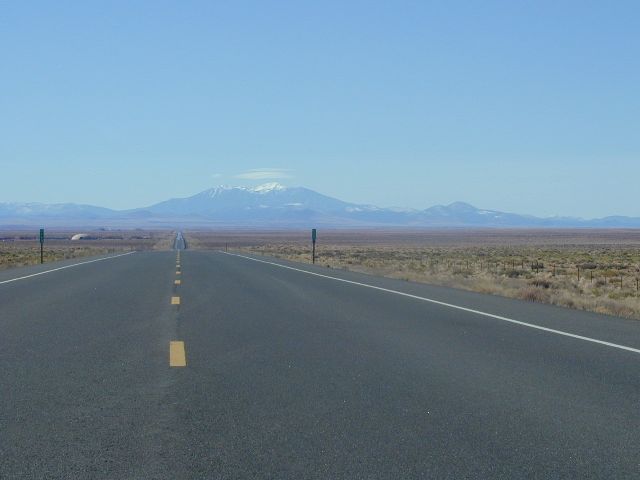
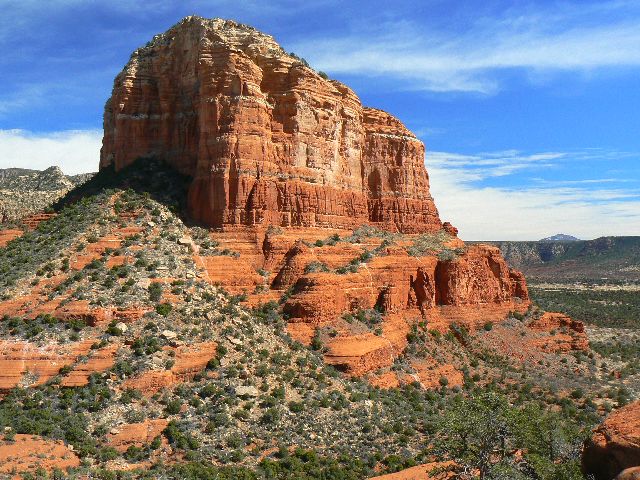
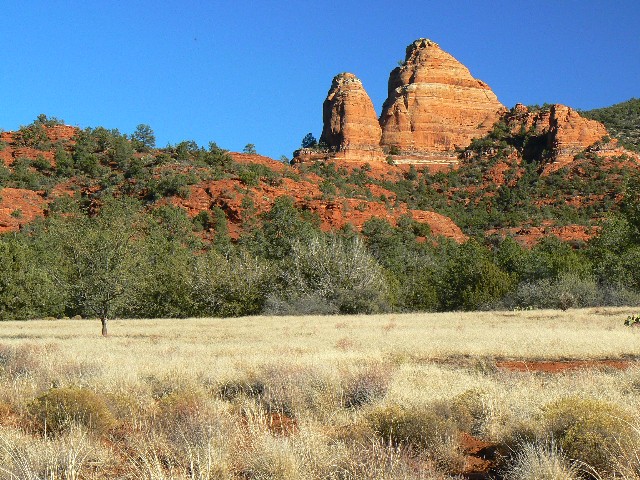
Yes, I'm again back in the Wet Beaver Wilderness (I really
love that name!). This time I'm going to scout up toward Casner Butte. It's warm enough for
a t-shirt as I switch-back gently up toward Casner from the main Bell Trail. There are old
foot prints but no hikers up here today. I see what I believe are Cougar scat, all twisted
and wrapped with fur, some sort of furry dinner, I surmise.
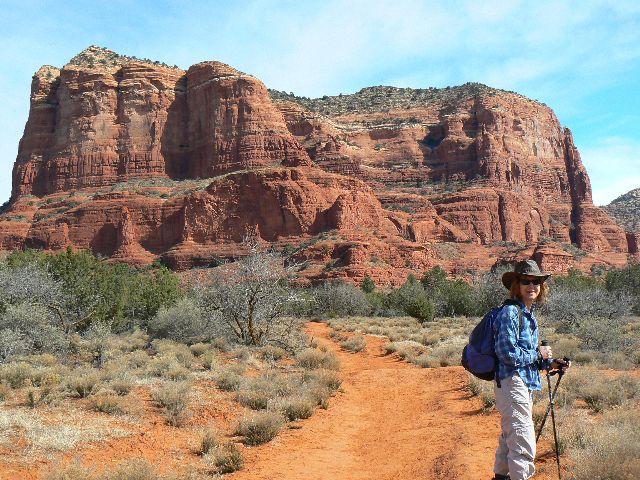
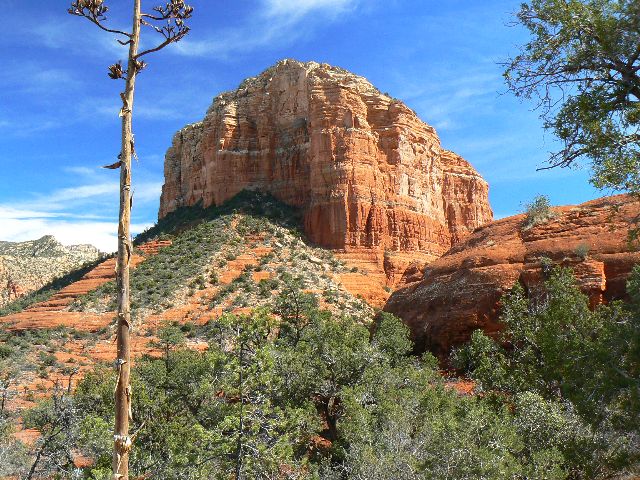
I continue past Casner and hike farther on this, the Apache
Maid Trail, toward Apache Maid Mountain. The soil on top is well-saturated, and I call off my
hike not too long after passing the sign that warns "trail difficult to follow." The trail
does not seem difficult to follow, but the mud turns me around after a half a mile of rambling
across this open plateau.
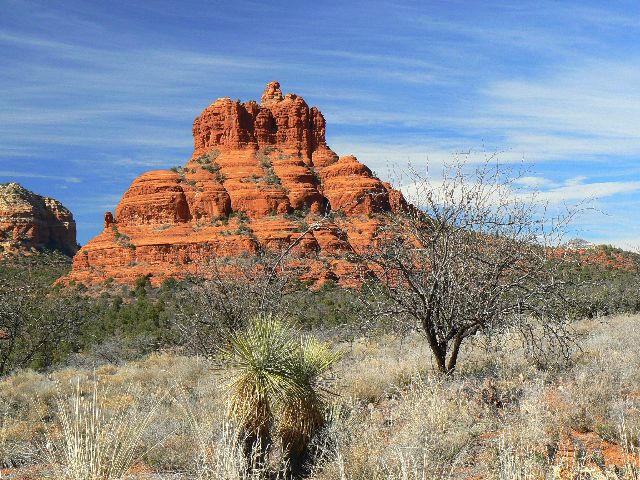
Back down to the saddle I slog, then I go off-route to Casner
Butte, finding lots of clutching nasties (Mesquite and friends) and no real route. A storm
front is blowing in and the temperature drops. Soon I am wearing wool gloves.
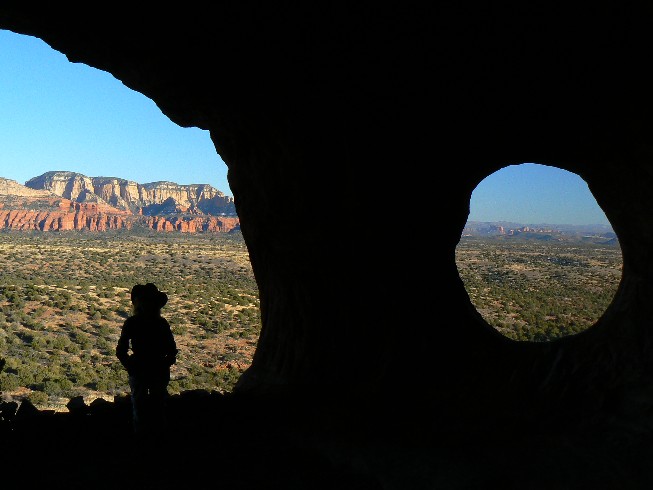
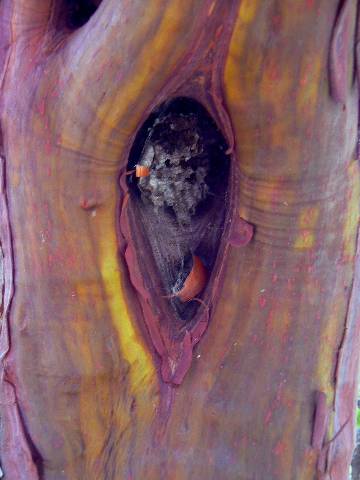
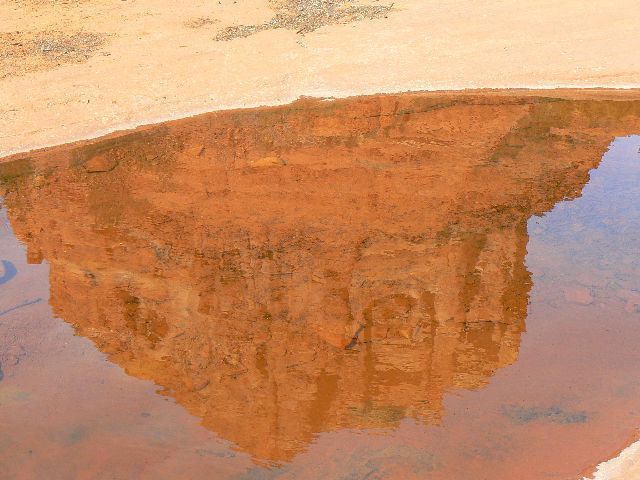
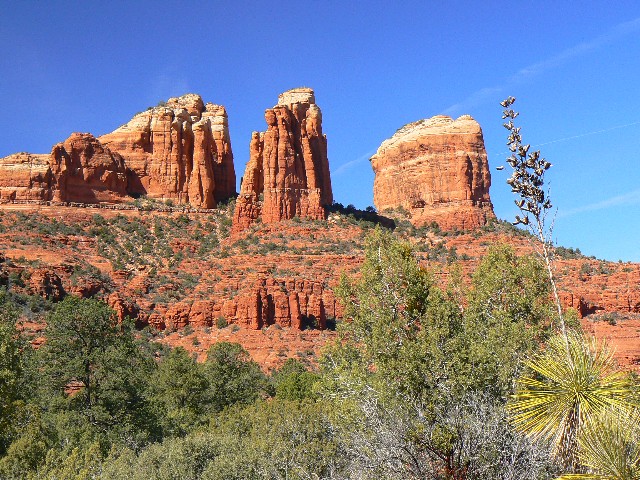
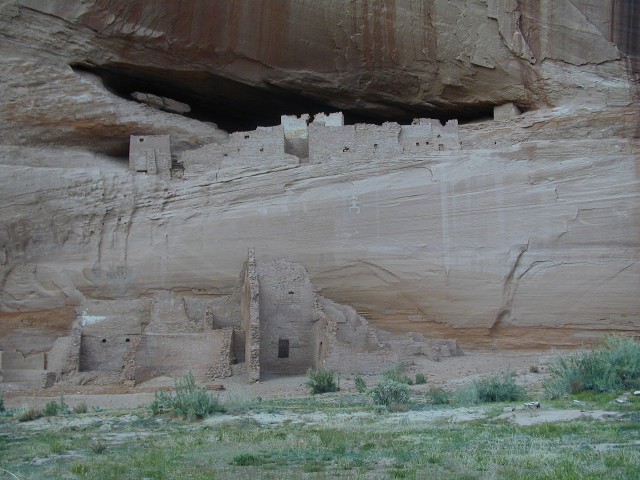
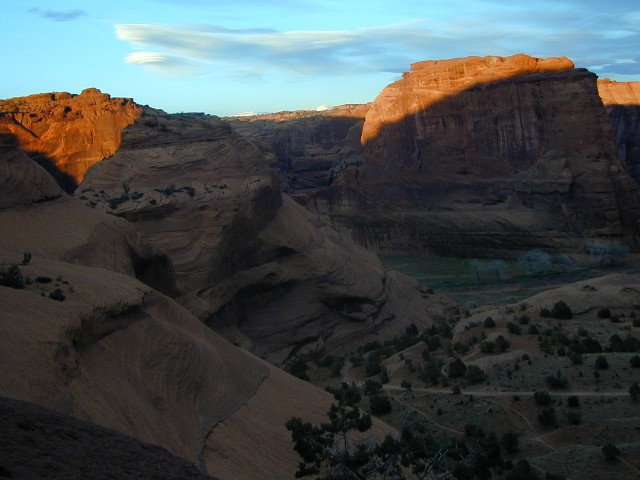
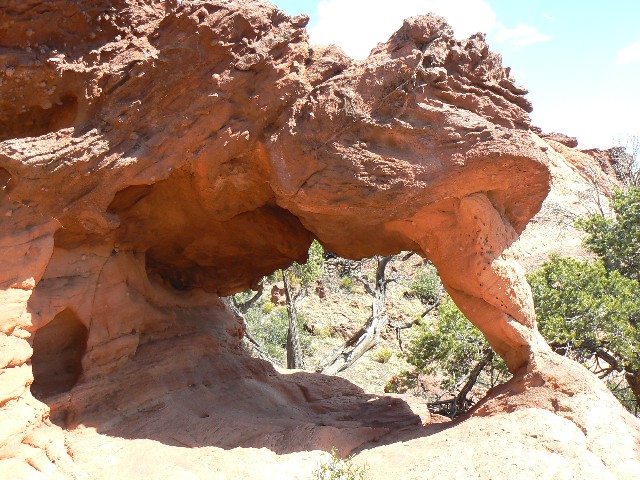
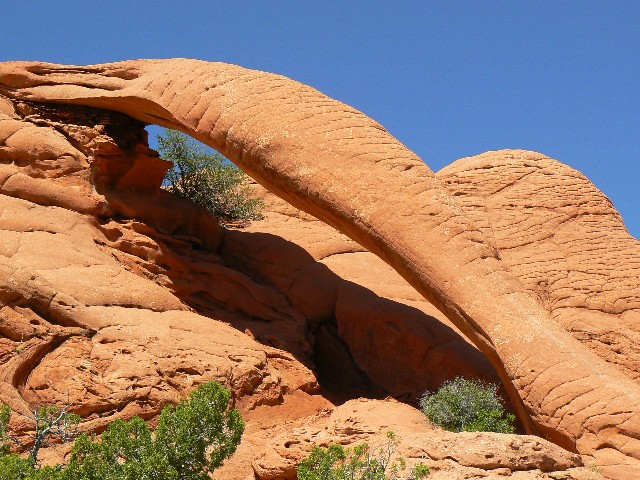
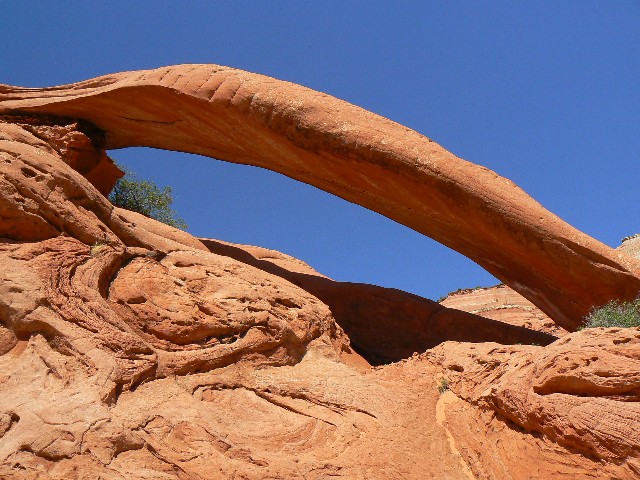
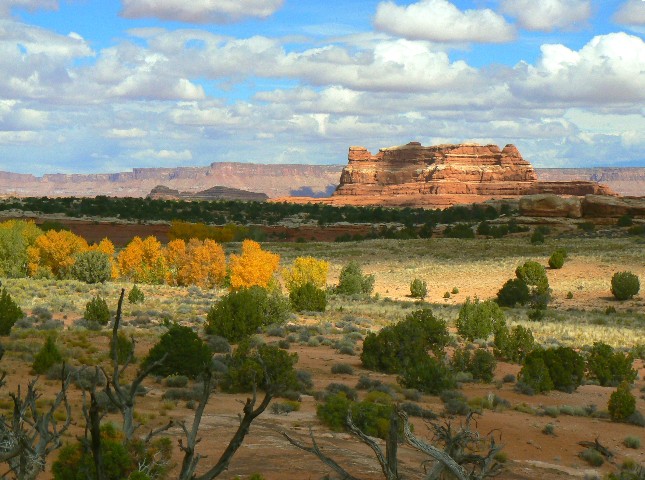
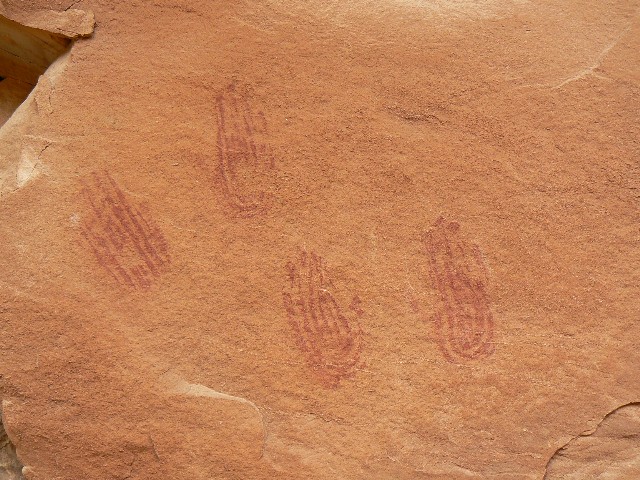
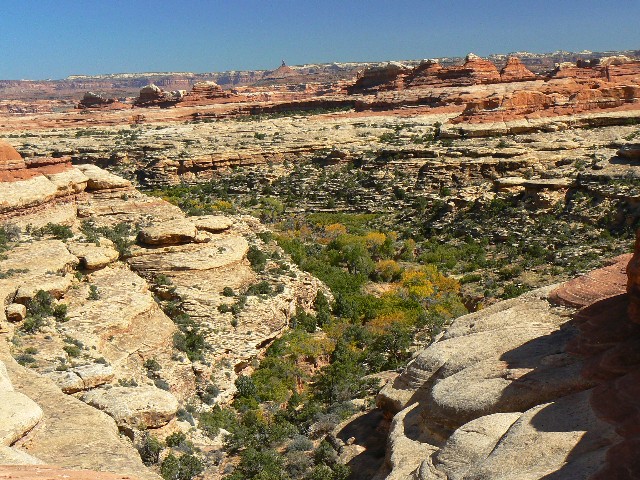
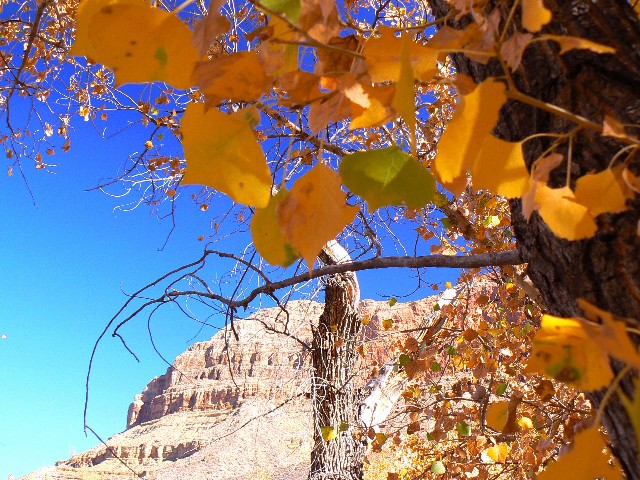
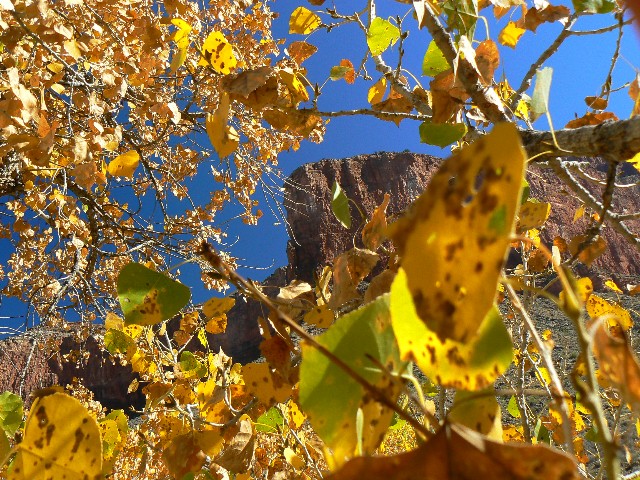
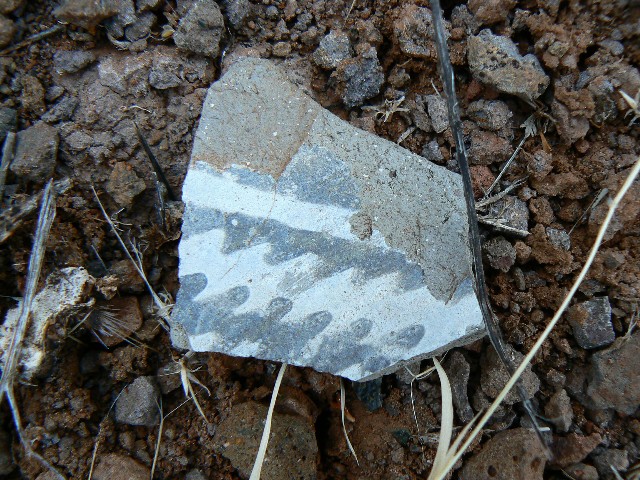
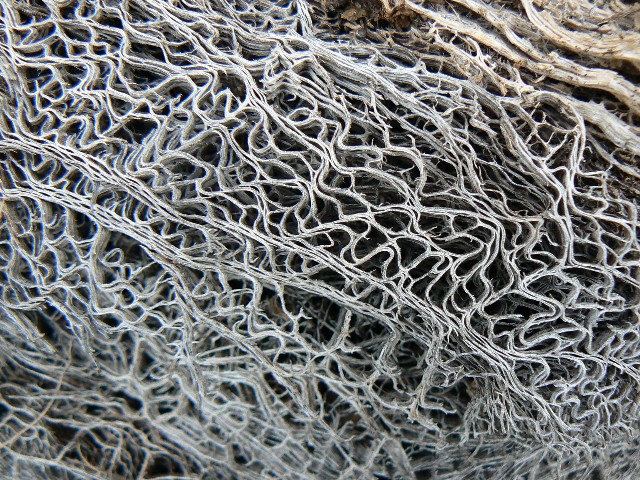
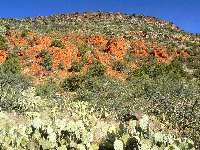
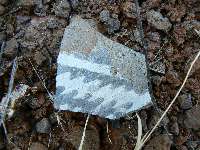
On the way off the butte, I stumble almost on a piece of
pottery (see photo). I wonder how it got here, with no good place to camp or live nearby. A
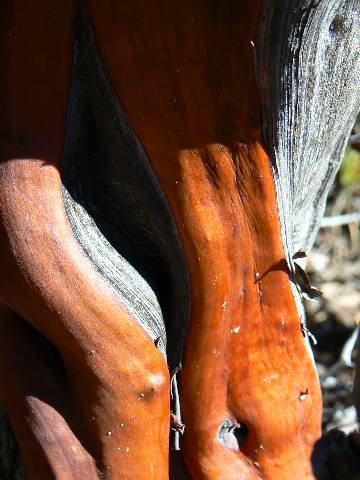
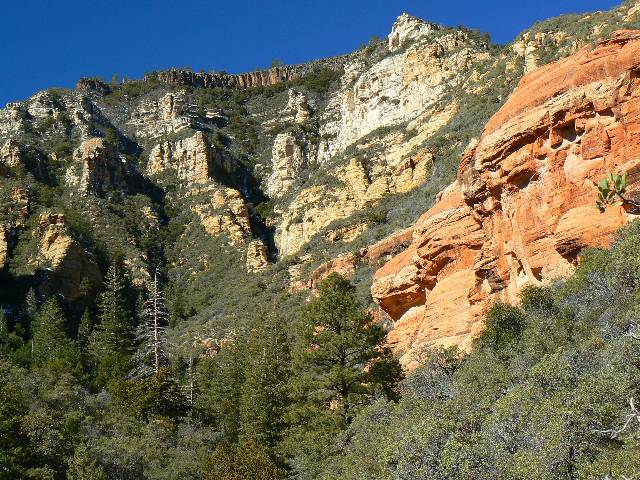
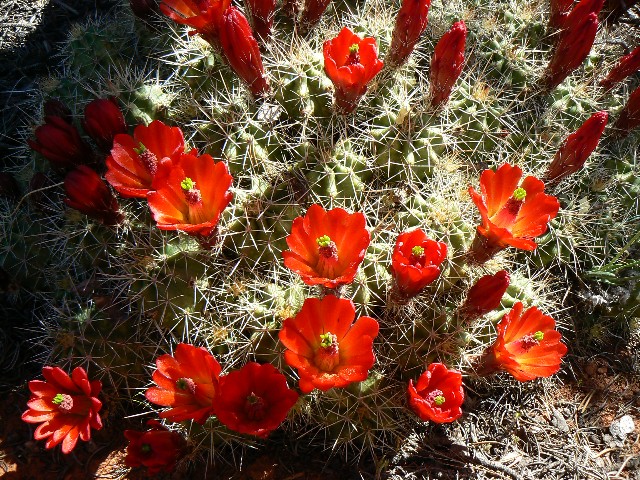
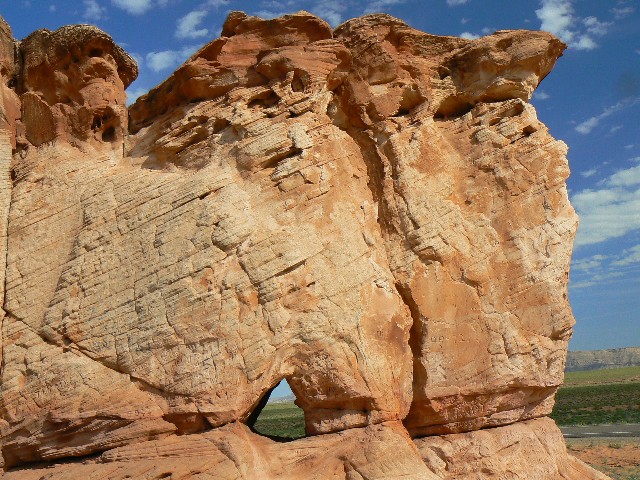
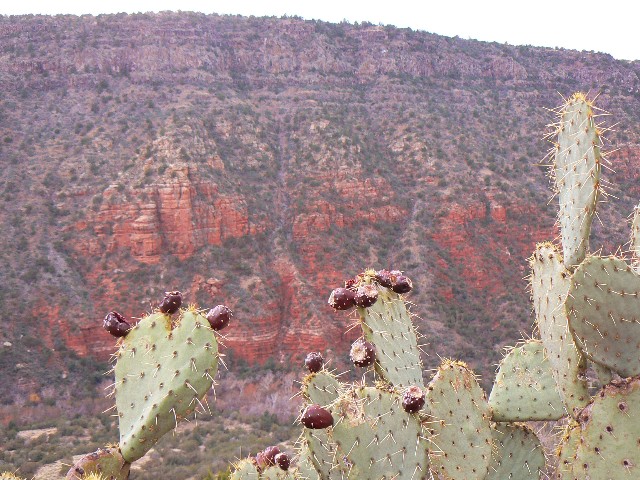
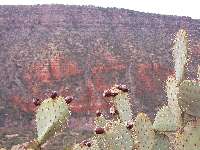
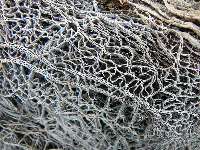
bit farther and I see an interesting tangle of cactus skeletons (see photo). It's very gray
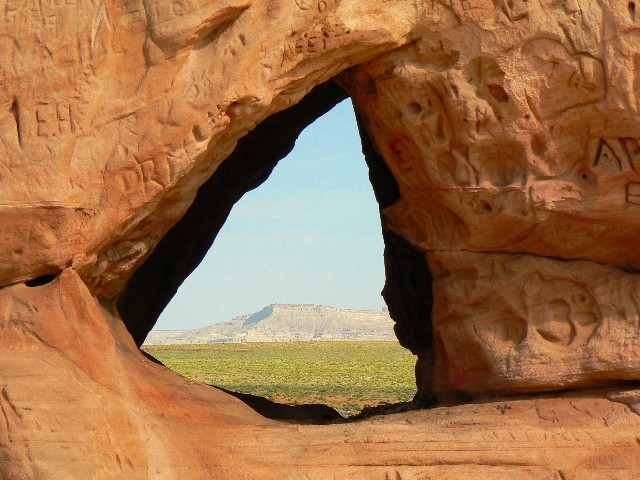
by now, but I take a photo over cactus and into Wet Beaver.
|
|---|
Pot shard on Casner
(Click the image)
|
|---|
|
|
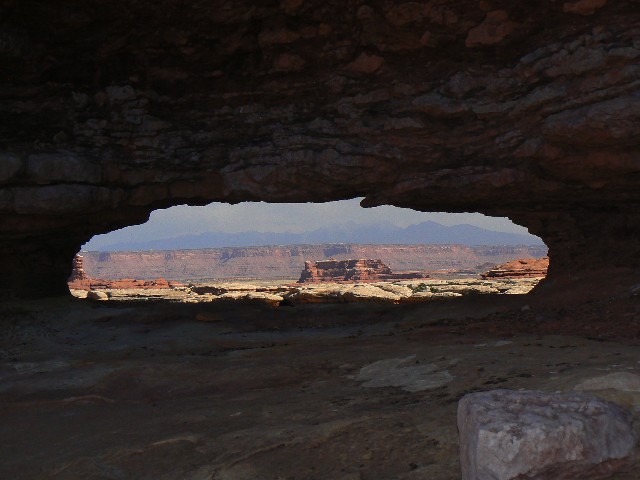
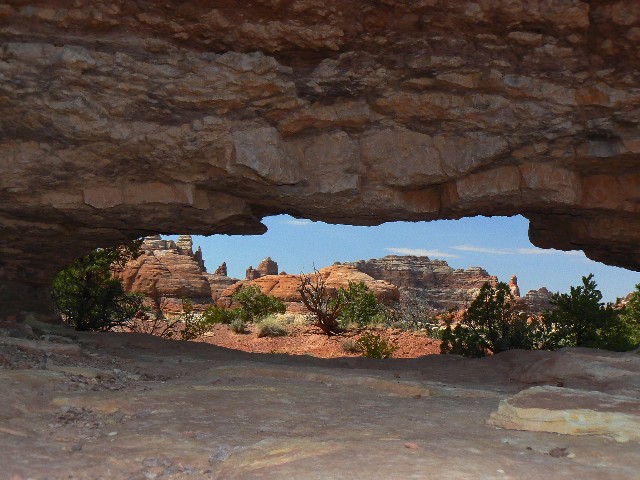
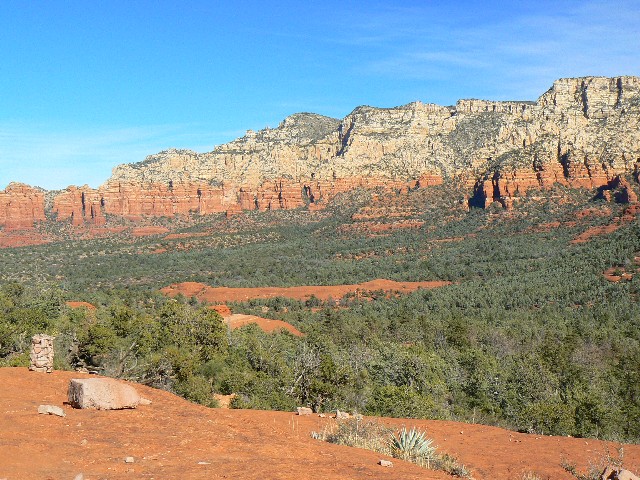
|---|
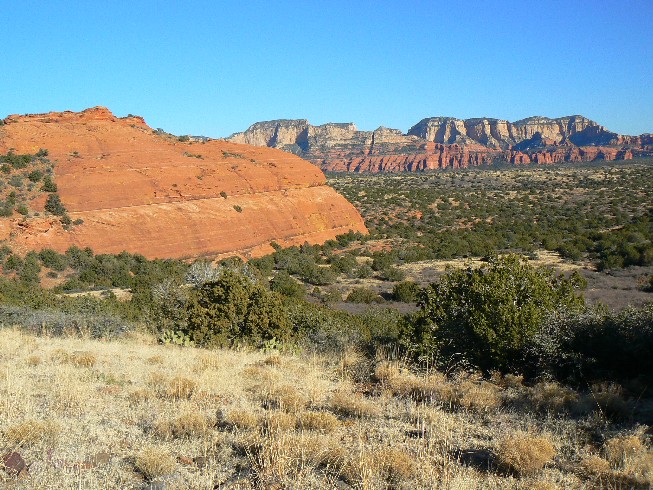
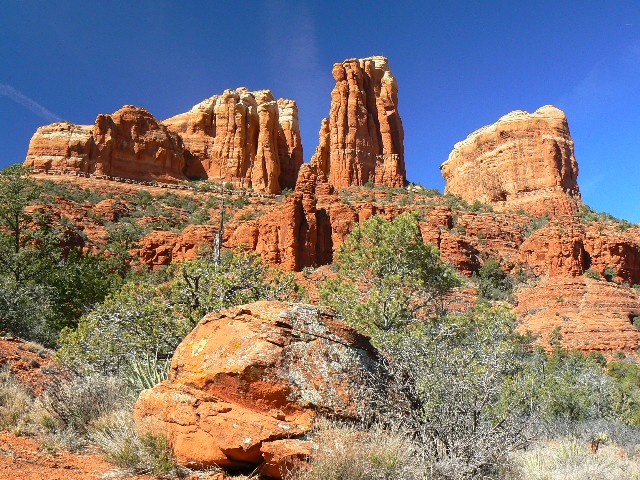
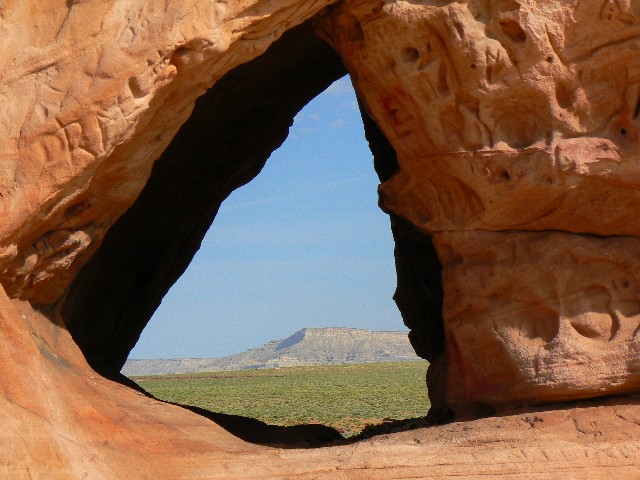
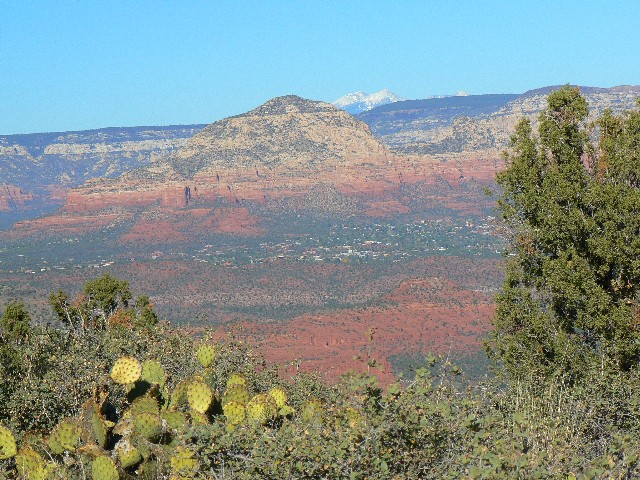
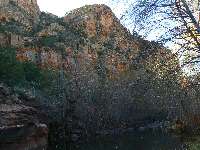
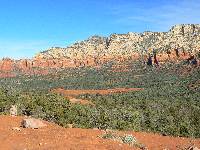
view from Casner Butte
(Click the image for a full-size view)
|
|---|
|
|
|---|
cactus skeleton
(Click the image for a full-size view)
|
|---|
|
And, another buscho t-shirt:
We're Making Enemies Faster Than We Can Kill Them.
Trip 20: Little Horse to
Chicken Point & Submarine Rock, late-December (8.5 miles, 12 ERM, Energy Required Miles).
Click here to go to our GPS
route made while hiking the Little Horse Trail to
Chicken Point & Submarine Rock. The route will appear
on a Google map with a USGS topo background.
Use the "+" sign (left of page) to change the map scale.
We go rolling down the switchbacks into Oak Creek amidst
cold temperatures, as the cold air drains off the Northern Arizona rim. On a quest for
warmer hikes, we are.
We set out on the Little Horse Trail and wander in t-shirts
part of the way to Chicken Point. Ahhh. We are besieged by oddly-colored jeeps and low-flying
copters - terrorist-supporting vehicles of the land and air - out to waste as much oil as possible and contribute as quickly as possible to obesity and health care costs. Certainly,
we muse, the cost of the bushco illegal and immoral war has surpassed the cost of providing education and health coverage for all Americans. Yet, this, among many other sad facts, seems lost on those that call for war and an economy based on the death-based military-industrial complex rather than an economy which values life.
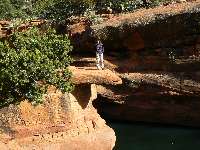
Briefly escaping this onslaught, we continue to Submarine
Rock, where we enjoy a delightful lunch in the low-angle Solstice sunlight. A chilling breeze
disrupts our lounging, and we wander back, extending our roaming via the Llama Trail (see
the gps route above).

|
|---|
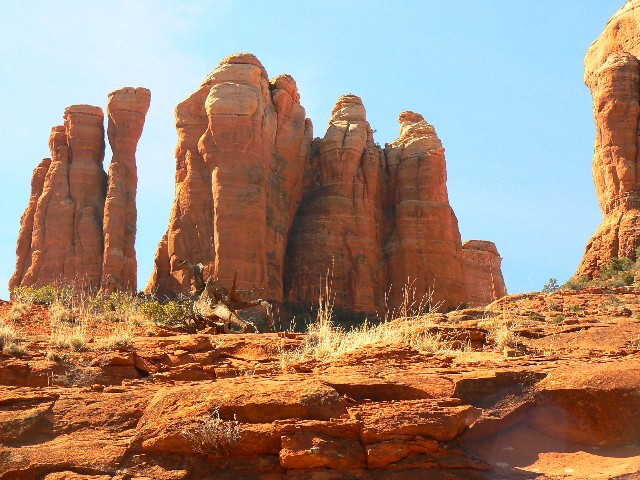
Chicken Point
(Click the image)
|
|---|
|
|
|---|
Submarine Rock
(Click the image for a full-size view)
|
|---|
|
|
|---|
Chicken Point
(Click the image for a full-size view)
|
|---|
|
Psychologist know that individuals who become
obsessed with themselves, with their own concerns and problems, are following a
hazardous path to neurosis and other pathologists. What is true for the individual
is true for the species. As a species, we have through history tended single-mindedly
to our own desires and aspirations with little concern for how our actions affect the
many species that sustain us. We can see where this is headed – we can see the grasslands
turning to desert, the polluted waters, the fallen forests. Like a self-absorbed individual,
we as a species have become dysfunctional, and we have moved toward collapse. By learning
about the workings of the nonhuman world – by learning what a plant really is, and what it
needs to survive, and how we help or hinder it – we can better understand and more wisely
use the natural systems that support us, and we can build for ourselves a healthier, more
enduring future. Roger DiSilvestro in The Beatles, a Yogi,
and the Search for Plants, Aububon Engagement Calendar, 1995.
And - Click here to see a pdf map of the Grand Canyon (180kb).
And - Click here to see The Archman's site on
Utah and area arches.
Click here to see Ben's Scenic USA - Picture of the Day.
Click here to see Steve's excellent photos -
birds in flight, panoramas, etc.
Click here to see the NOAA forecast for the high country.